

Essential Steps To Take After You Get Engaged: 10 Things To Do Before You Set a Date
Congratulations — you’re engaged! This is one of the most exciting times of your life, and while it’s tempting to dive straight into Pinterest boards and dress shopping, taking a few thoughtful steps early on will make planning your dream wedding so much easier.
Whether you’re dreaming of an intimate micro wedding or a big celebration surrounded by everyone you love, here’s exactly what to do after you get engaged.

1. Celebrate the Moment –
Don’t rush. Take time to enjoy being engaged — just the two of you. Pop some bubbly, take a few engagement selfies, and let the joy sink in. These first few days are special; so start dreaming together before the planning begins. Then when you are ready, share the news with your closest loved ones.
2. Get Your Ring Sized and Insured
Your engagement ring is valuable and deserves protection from unforseen circumstances. Contact your jeweler or insurance provider to get it properly appraised and added to your policy. If the fit isn’t quite right, have it resized as soon as possible to avoid any wedding-day panic. It’s a simple step that protects something so special.
3. Talk About a Rough Timeline –
You don’t need to set a date yet — just start a light conversation. Sit down with your partner and talk about what kind of wedding you both want.
Do you imagine a cozy backyard micro wedding or a destination celebration?
What’s most important — the venue, photography, food, or the guest experience?
Do you both want a spring or fall wedding?
Having this conversation early helps set expectations and keeps both of you on the same page before budgets and guest lists come into play. This helps narrow your focus before diving into the details.
4. Discuss a Budget (Even a Loose One) –
Money talk isn’t fun or easy, but it’s one of the biggest planning essentials.
Start by deciding how much you’re comfortable spending overall, and who, (if anyone else), will be contributing. From there, break your budget into key categories — venue, attire, photography, florals, and décor.
Tip: Consider setting aside 10–15% of your total budget for unexpected expenses. They always pop up!
Check out this post on how to create a wedding budget — it even includes a free worksheet to help you get started!
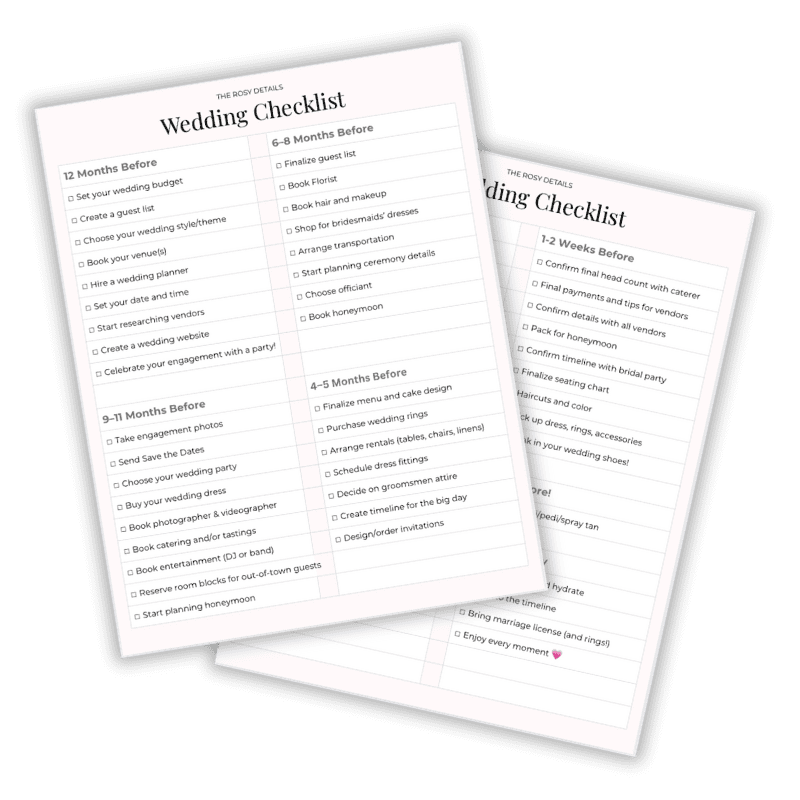
5. Download Your Wedding Planning Checklist –
There’s a lot to remember, and a good checklist keeps it all from feeling overwhelming. I created a free printable wedding checklist that is simple and easy to follow.
6. Start a Shared Inspiration Board –
Now comes the fun part — defining your wedding aesthetic.
Explore current wedding style trends to help you narrow down what you envision your dream wedding to be like.
Next, create a Pinterest mood board, a Google Drive folder, or a Canva project mood board that captures your ideal look and feel. Are you drawn to romantic florals, minimalist neutrals, or a coastal-inspired vibe? Look at color palettes, venues, dresses, flowers, stationery, decor — anything that speaks to your vision. You don’t need all the answers, just inspiration. If you’re not sure where to start, check out these mood boards — they’re an easy, fun way to organize your inspiration and share it with vendors.
7. Draft a Rough Guest List and Send Save the Dates
Your guest list directly affects your budget and venue choices, so begin with a rough idea of how many people you’d like to invite. If you’re planning a micro wedding, you’ll want to narrow it down to your nearest and dearest — usually 50 guests or fewer.
Once you have decided, you can formally announce your engagement. Whether you prefer a social media announcement, mailed or digital save-the-date cards, or sharing a fun engagement shoot, share your joy in a way that feels authentic to you.
Canva and Etsy both offer beautiful editable templates for digital announcements — perfect for a modern, eco-friendly touch. You can check out my etsy shop here.
8. Decide If You’ll Work With a Wedding Planner –
Planners aren’t just for big-budget weddings! Even hiring someone for day-of coordination can be a lifesaver. If you plan to DIY everything, now’s the time to get organized with tools and timelines (hint: your checklist will help).
9. Choose a Date Range, Research Venues and Key Vendors Early –
You don’t need an exact date yet — having a date range gives you flexibility when reaching out to venues. Tour a few locations that match your style and budget. Ask what’s included (tables, chairs, linens, coordination, etc.), and take note of the overall vibe. Keep in mind that venues book months (sometimes a year) in advance — especially for peak seasons.
Need venue inspiration for a smaller intimate wedding? Read this post for ideas!
Once you’ve chosen your date and venue, prioritize booking your:
- Photographer/videographer
- Caterer
- Officiant
- Florist
If there’s a dream vendor you really want, it’s okay to start reaching out and getting info even before your date is official.
After that, you can start exploring attire, stationery, and décor at your own pace.
10. Soak It All In –
Planning a wedding is a big deal — but being engaged is a unique, joyful season. Don’t skip over this part. Plan a celebratory dinner, go on a “just engaged” weekend trip, or simply enjoy introducing each other as fiancés. It’s a once-in-a-lifetime feeling!
Ready to Get Organized?
Planning your dream wedding should feel joyful, not chaotic. That’s why I made a beautiful, easy-to-follow wedding checklist you can print and add to your wedding planning binder.
Click below to grab your free PDF wedding checklist!